Prepare a brief (before the project)
Always start with a brief. This will set a clear and strong foundation for the whole project. A well-prepared brief will ensure everyone knows what the project should look like in the end. Below you will find furniture & styling mood boards for a project we previously worked on.

Assign a single point of contact
There can be 5-10 people with different opinions giving feedback to one image, so it can become very messy if you do not assign a SPOC. Assigning a single point of contact will limit confusion for everyone involved.
We recommend the SPOC to collect all comments from the team, summarise and send through the feedback in one file or email.

Don’t rush the review time
Set aside enough time to review the 3D render previews, collect and organise feedback from all parties involved. Rushed reviews can lead to additional costs and mistakes neither your team (or our team) wants. To solve this, we provide our clients with a simple checklist to help assist them in analysing each image for any architectural or design inaccuracy.

Communicate clearly
Communicate the feedback clearly with your markups. If you see something you don’t like, provide a detailed description of what you would prefer instead, or if you are unsure how to describe it, a good reference image will work.
Provide image examples
We recommend always providing an image example to anything that is potentially open to interpretation.
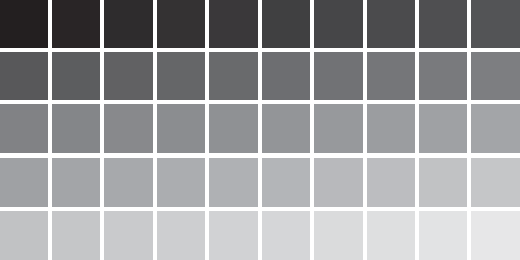
As humans we tend to have different perceptions and understanding of colours and styles. When a client asks to “change cushion colour to grey”, consider the amount of shades of grey out there. The 3D artist creating your images might have a completely different shade of grey in mind.
Be precise and provide examples of what you want.

Ways to markup an image
We provide our clients with checklists and other useful information to help make the reviewing stage as simple as possible. This ensures your project runs smoothly, on time and that your 3D renders are everything you envisioned.